





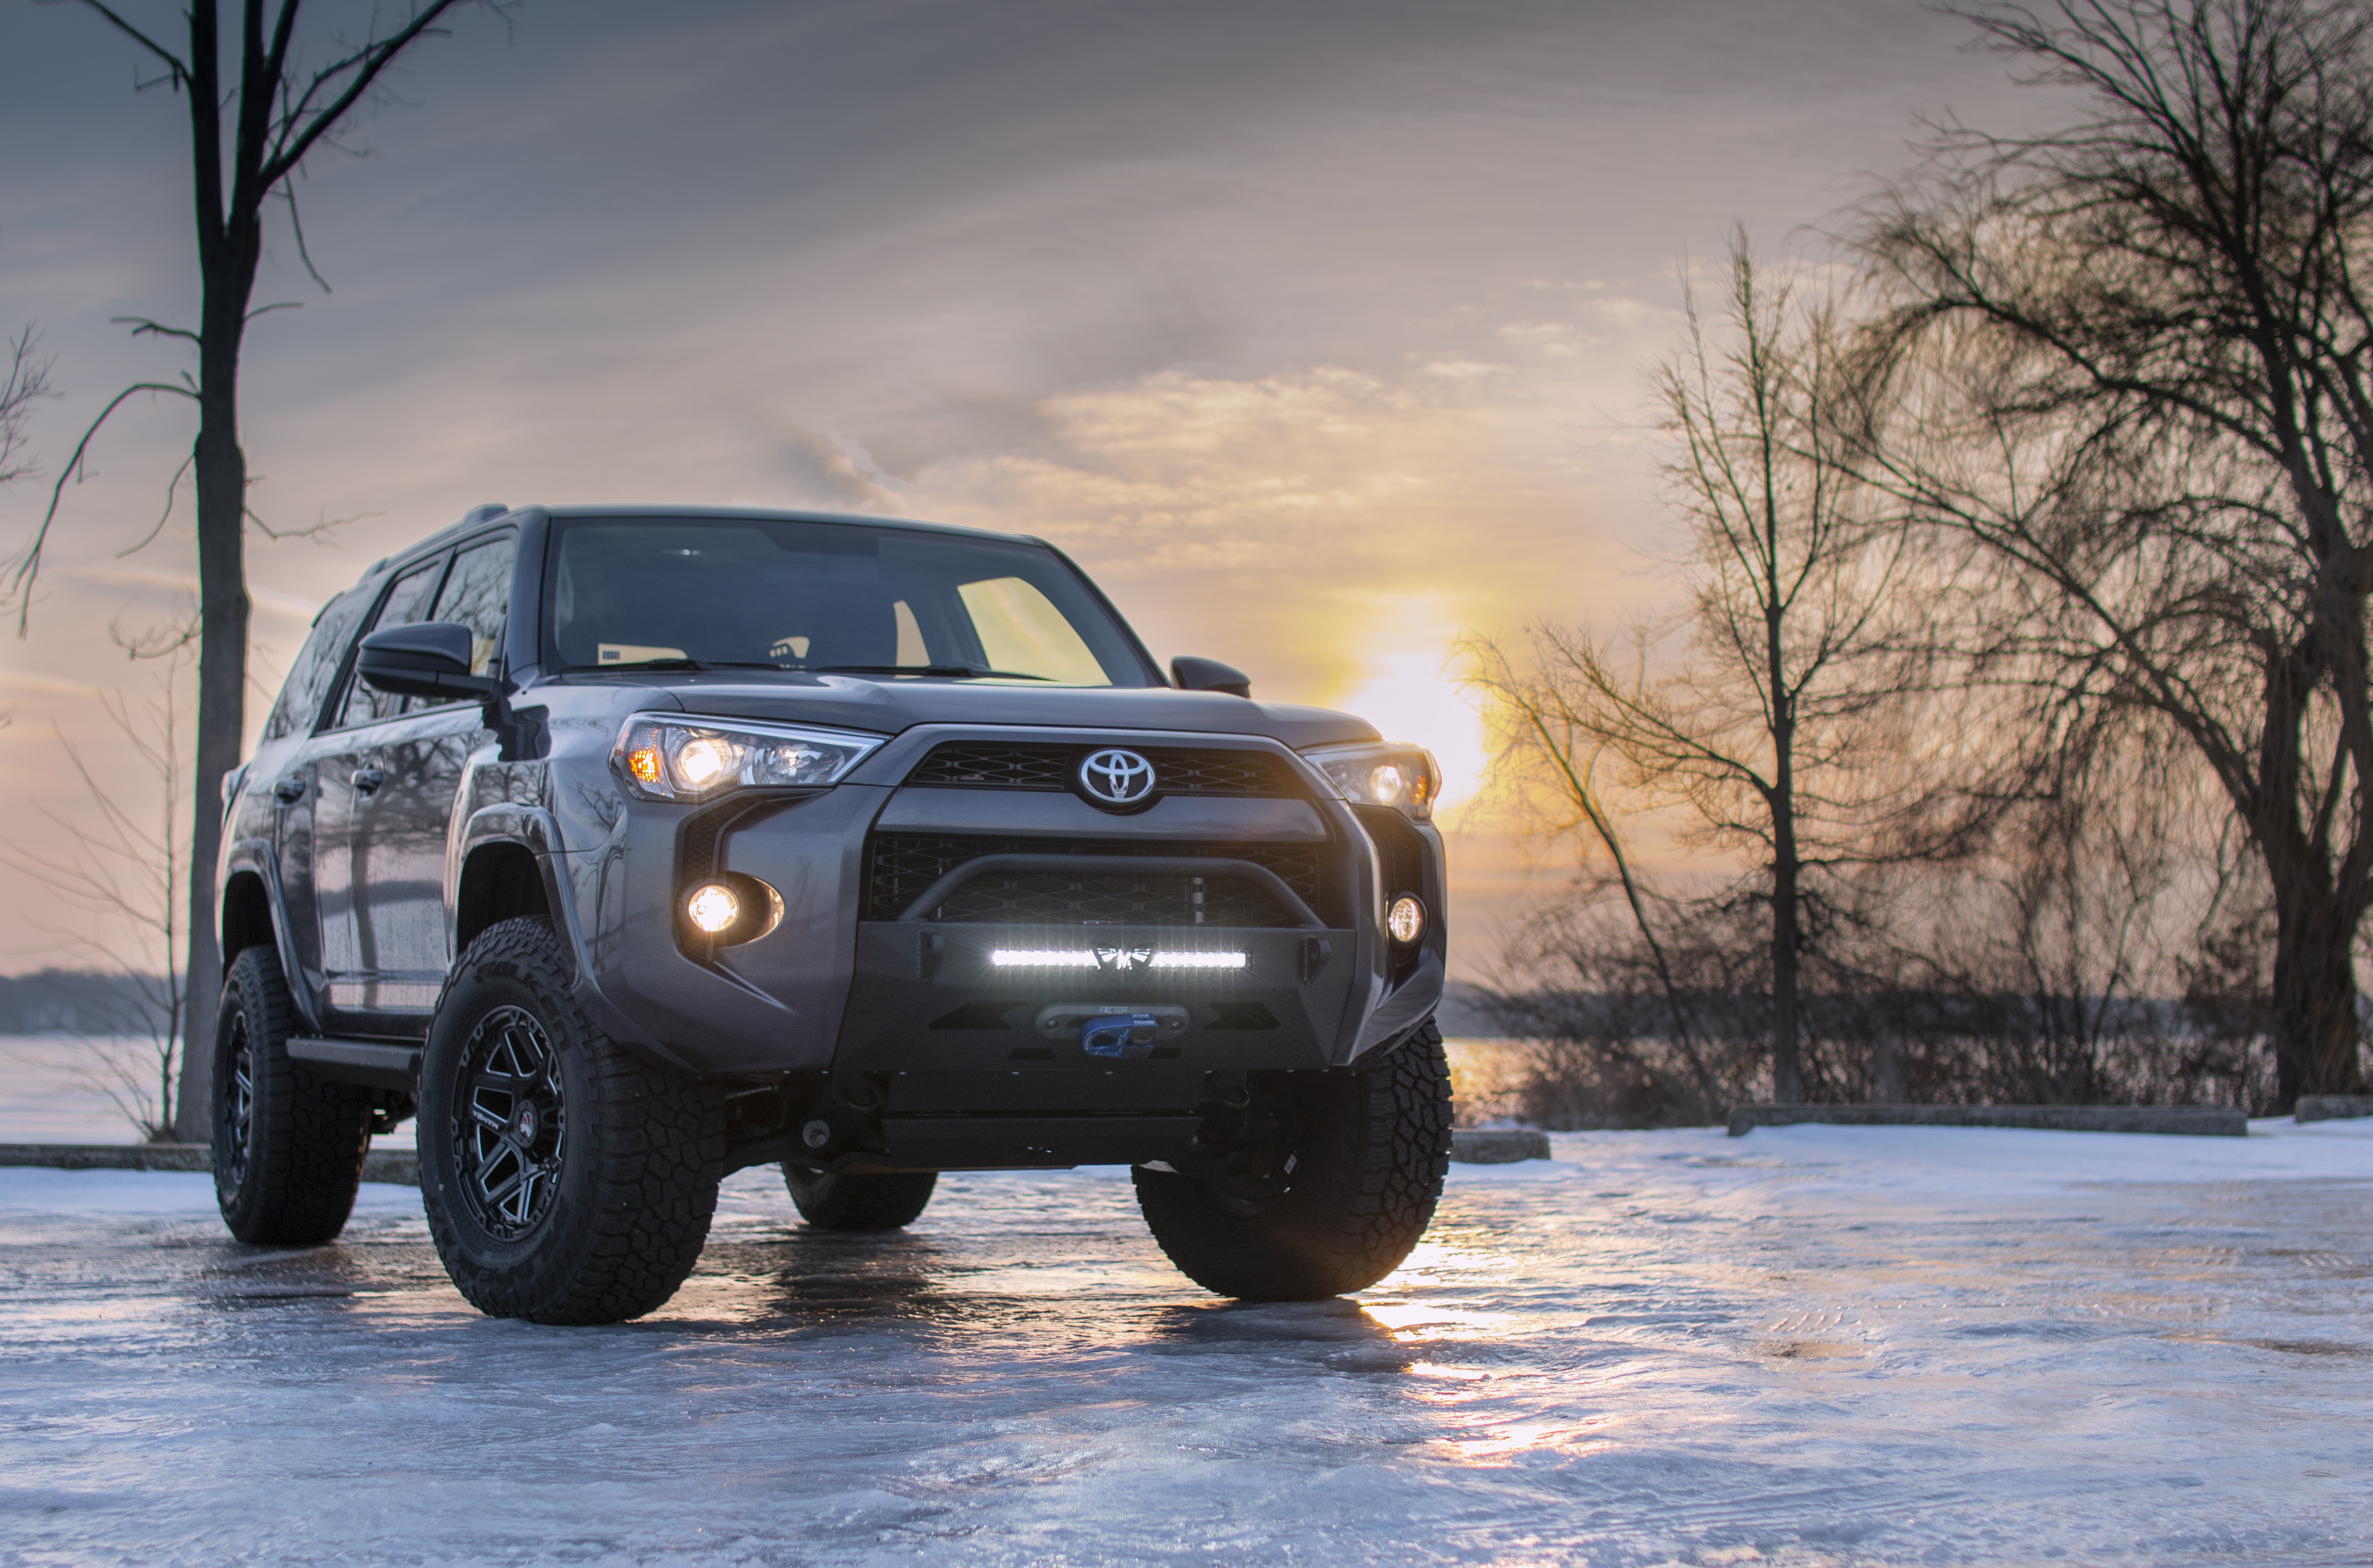
Amber vs White, Spot vs Flood
The other day I stopped by Michael's desk to see how things were going. He was busy responding to a customer asking what lights they should run in their bumper. As we talked, Michael mentioned that he answers that question so often that he has an entire document saved just to copy and paste the response.
That got me thinking.
If we're answering the same lighting questions every day, chances are a lot of people are searching for those same answers online. Questions like:
These are all great questions, and honestly, there isn't always a one-size-fits-all answer.
I've been involved in off-roading for a long time, and one thing I've learned is that the best lighting setup depends entirely on how you use your vehicle. The guy running desert roads at high speed may need something completely different than the family exploring forest service roads and setting up camp for the weekend.
So instead of having Michael copy and paste the same response another hundred times, we decided to put everything we've learned in one place.
Let's talk about beam patterns, light colors, mounting locations, and the brands we trust on our own vehicles.
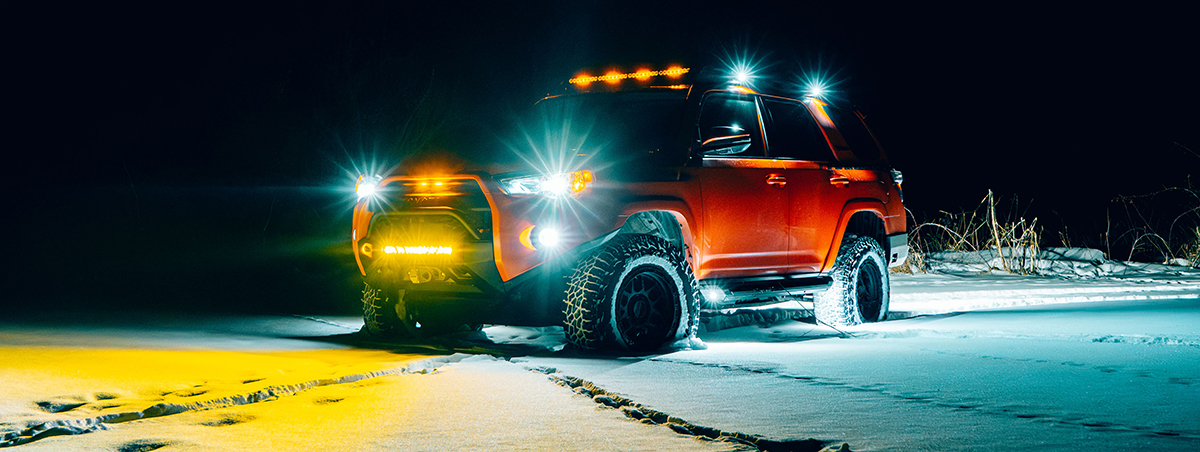
For those who want the TLDR version, here are our general recommendations:
Of course, there are exceptions, but if you're unsure where to start, these recommendations will serve most off-roaders very well. Think of your whole lighting setup as a package, with each light group excelling at a specific task, speed, and condition.
If you stop reading here, you'll probably end up with a pretty good lighting setup. But if you want to understand why we make those recommendations, keep reading.
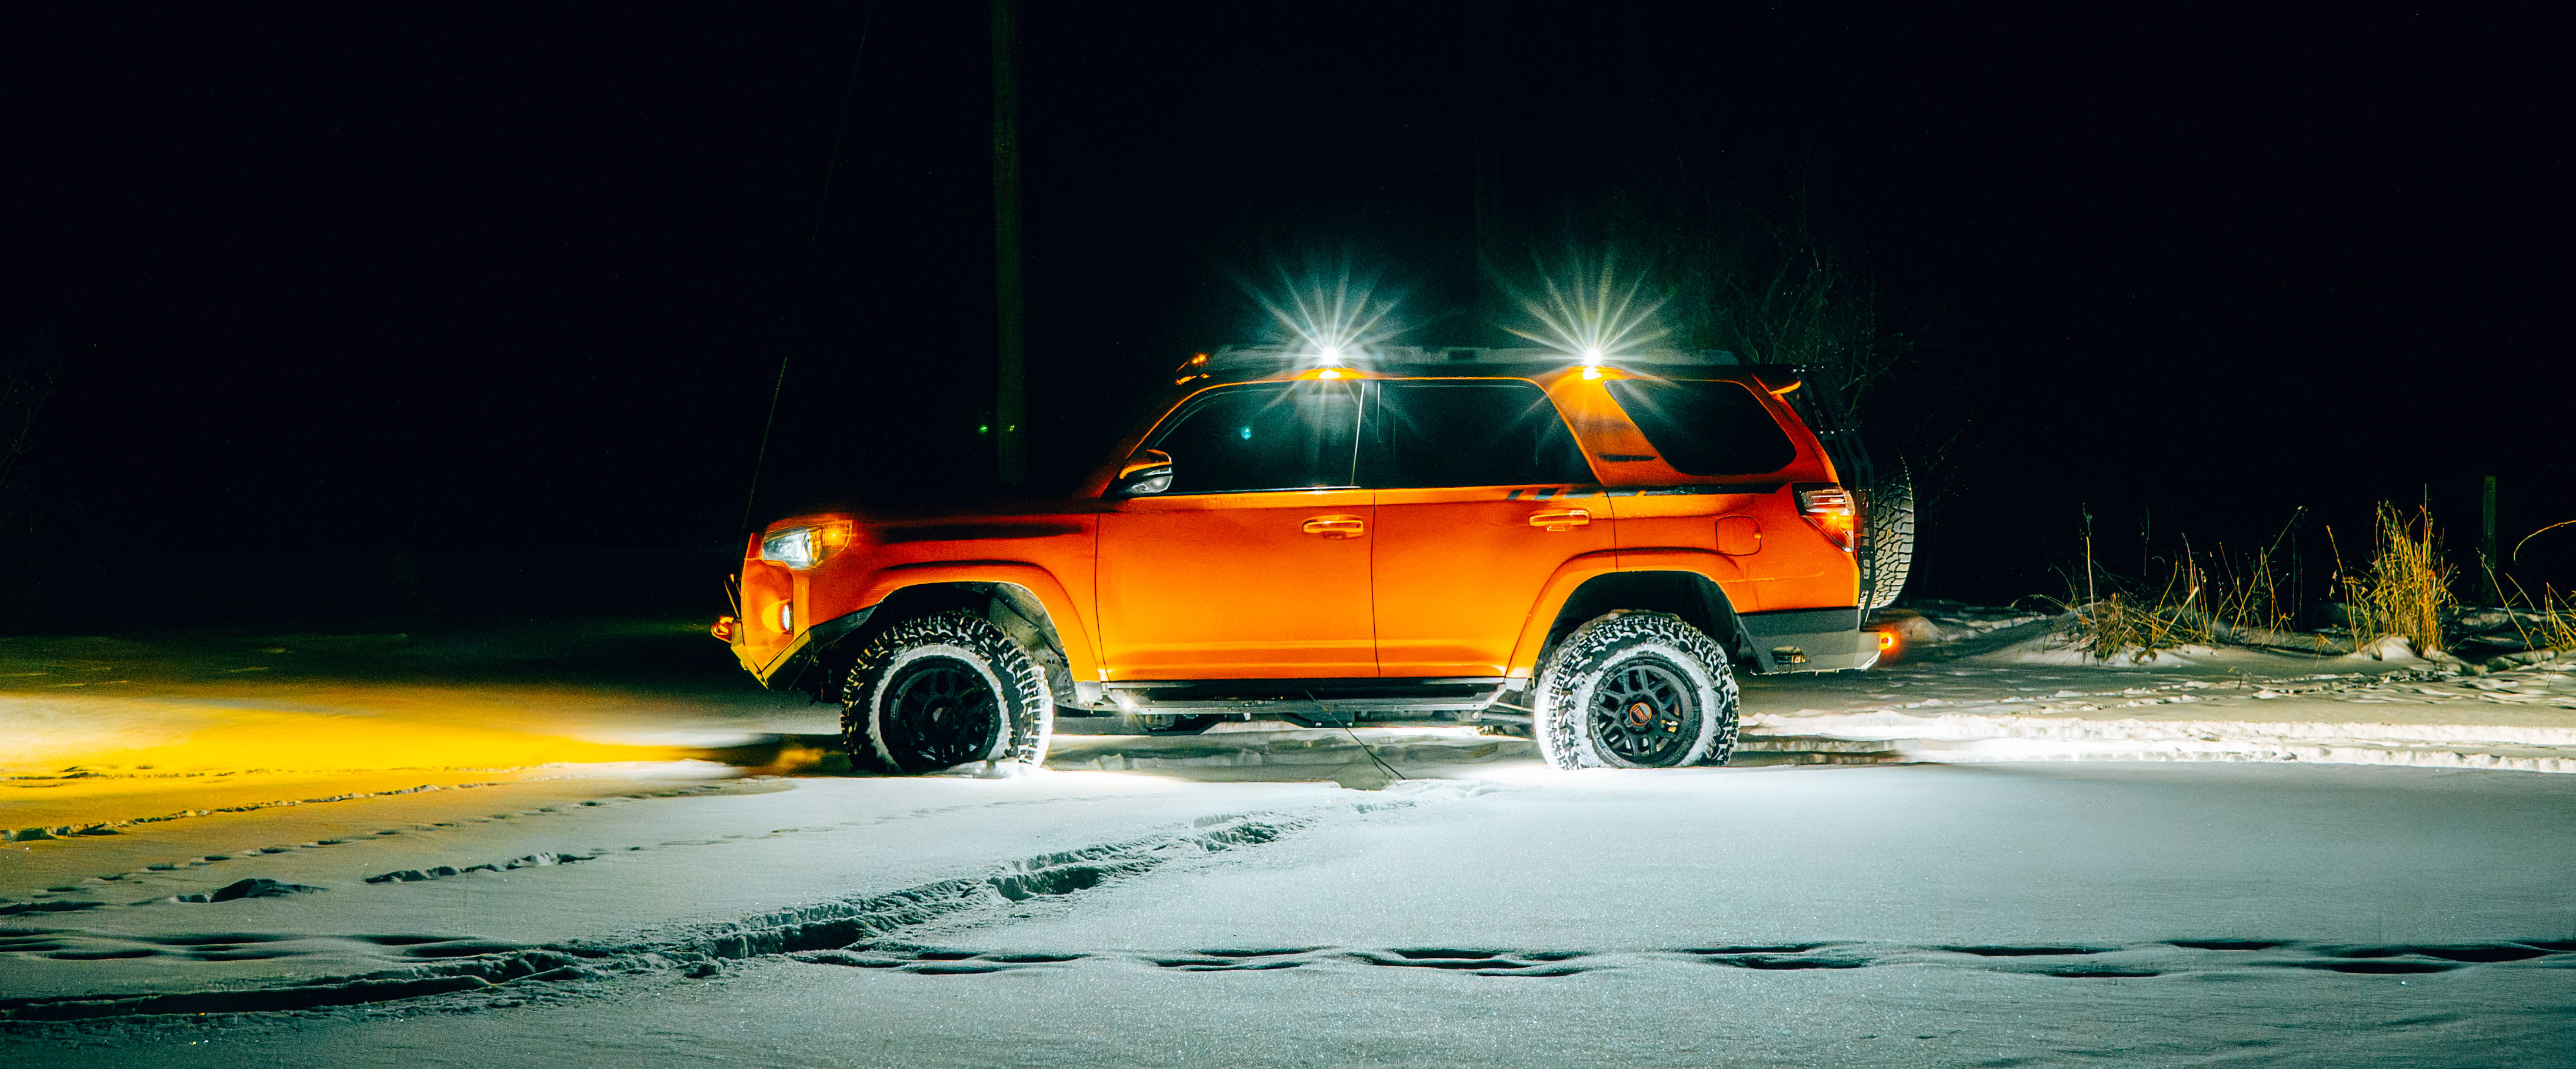
When customers ask what lights to put in their rear bumper, our answer is almost always the same: flood pattern.
A few years ago, I was camping in Ouray, Colorado with my business partner Daryl. We rolled into camp much later than expected and were already anticipating a difficult setup. Five rigs were arriving after dark; everyone was tired, and nobody was excited about unloading gear by flashlight.
Before anyone could start complaining, Daryl backed his truck into the campsite and flipped on his rear-facing bumper lights.
The entire campsite lit up.
Those flood lights illuminated everything behind the truck. Suddenly, we could see where to park, where to unload gear, where to set up camp, and where not to trip over rocks in the dark. What could have been a frustrating setup turned into a smooth process, and all five rigs were set up in short order.
That experience reinforced something we've seen over and over again: rear bumper lights aren't about seeing hundreds of feet behind your vehicle. They're about lighting up the area around your vehicle.
Think about how rear lights are actually used:
In almost every one of those situations, you need light close to the vehicle, not far away.
That's why we almost always recommend a flood pattern for rear bumper lights.

Ditch lights are one of the most useful lighting upgrades you can make, especially if you spend time on rural roads, wooded trails, or areas with heavy wildlife activity.
Last fall, I was cruising some back roads in northern Michigan after dark. If you've spent any time driving up there, you know deer aren't a possibility; they're a certainty.
As I was driving, I flipped on my ditch lights and immediately noticed how much farther into the tree line and roadside areas I could see. A few minutes later, that wider field of view paid off.
I spotted a deer standing off the side of the road before it made its move. The additional light caught it, and like every deer that's ever seen headlights, it froze in place. Fortunately, it froze off the road instead of in front of my truck.
That experience reinforced exactly why ditch lights exist.
They're not designed to help you see farther down the road. Your headlights and driving lights already handle that job.
Ditch lights are designed to widen your field of view.
They illuminate:
For most applications, we recommend a wide cornering pattern aimed approximately 30 degrees outward from the vehicle.
Many people focus on putting more light farther down the road. In our experience, widening your light spread can be just as valuable.

For roof rack light bars, we generally recommend a spot pattern, and honestly, that recommendation comes from experience.
Back in 2017, I was attending Easter Jeep Safari in Moab with my friend Mark from TeraFlex. One evening we were driving around, catching up with friends and enjoying the trails when we stumbled across a group getting ready for an "in the dark" trail run on Fins and Things.
A woman from the group walked over and asked, "You guys here for the in-the-dark run?"
Without missing a beat, we both said, "Yep."
That was apparently the right answer because within minutes people were covering every light on our vehicles with masking tape. Headlights, light bars, dash lights, everything. We figured we'd roll with it and see what happened.
Once your eyes adjusted, it was actually a really cool experience. The moon provided more light than you'd think, and after a while you could navigate the trail surprisingly well.
The downside was that any bright light instantly destroyed your night vision.
That became very obvious when another group of Jeeps came over a hill toward us. These weren't trail rigs built for function. They were more show-oriented builds, and every light on every Jeep was turned on. Headlights, pods, roof light bars, bumper lights. Everything.
For a few seconds it was complete chaos.
As my eyes recovered, I started noticing something interesting. Many of the roof-mounted light bars were running flood patterns, and a huge amount of that light was reflecting off the hood and immediate foreground of the vehicle. Instead of helping them see farther down the trail, much of the light was actually working against them.
The whole experience reinforced something I've seen many times since. The job of a roof-mounted light isn't to create more light. It's to help you see farther.
That's why we typically recommend a spot pattern for roof rack light bars. A spot projects light farther down the trail where it can actually help you identify obstacles, terrain changes, and upcoming turns.
The goal isn't to create more light. The goal is to create useful light.
That said, if your roof rack light bar is your main source of off-road lighting (i.e., you don't have aftermarket bumper lighting), you may want to choose a combination pattern. This will give you some increased light directly in front of the vehicle, at the expense of a bit more hood glare.
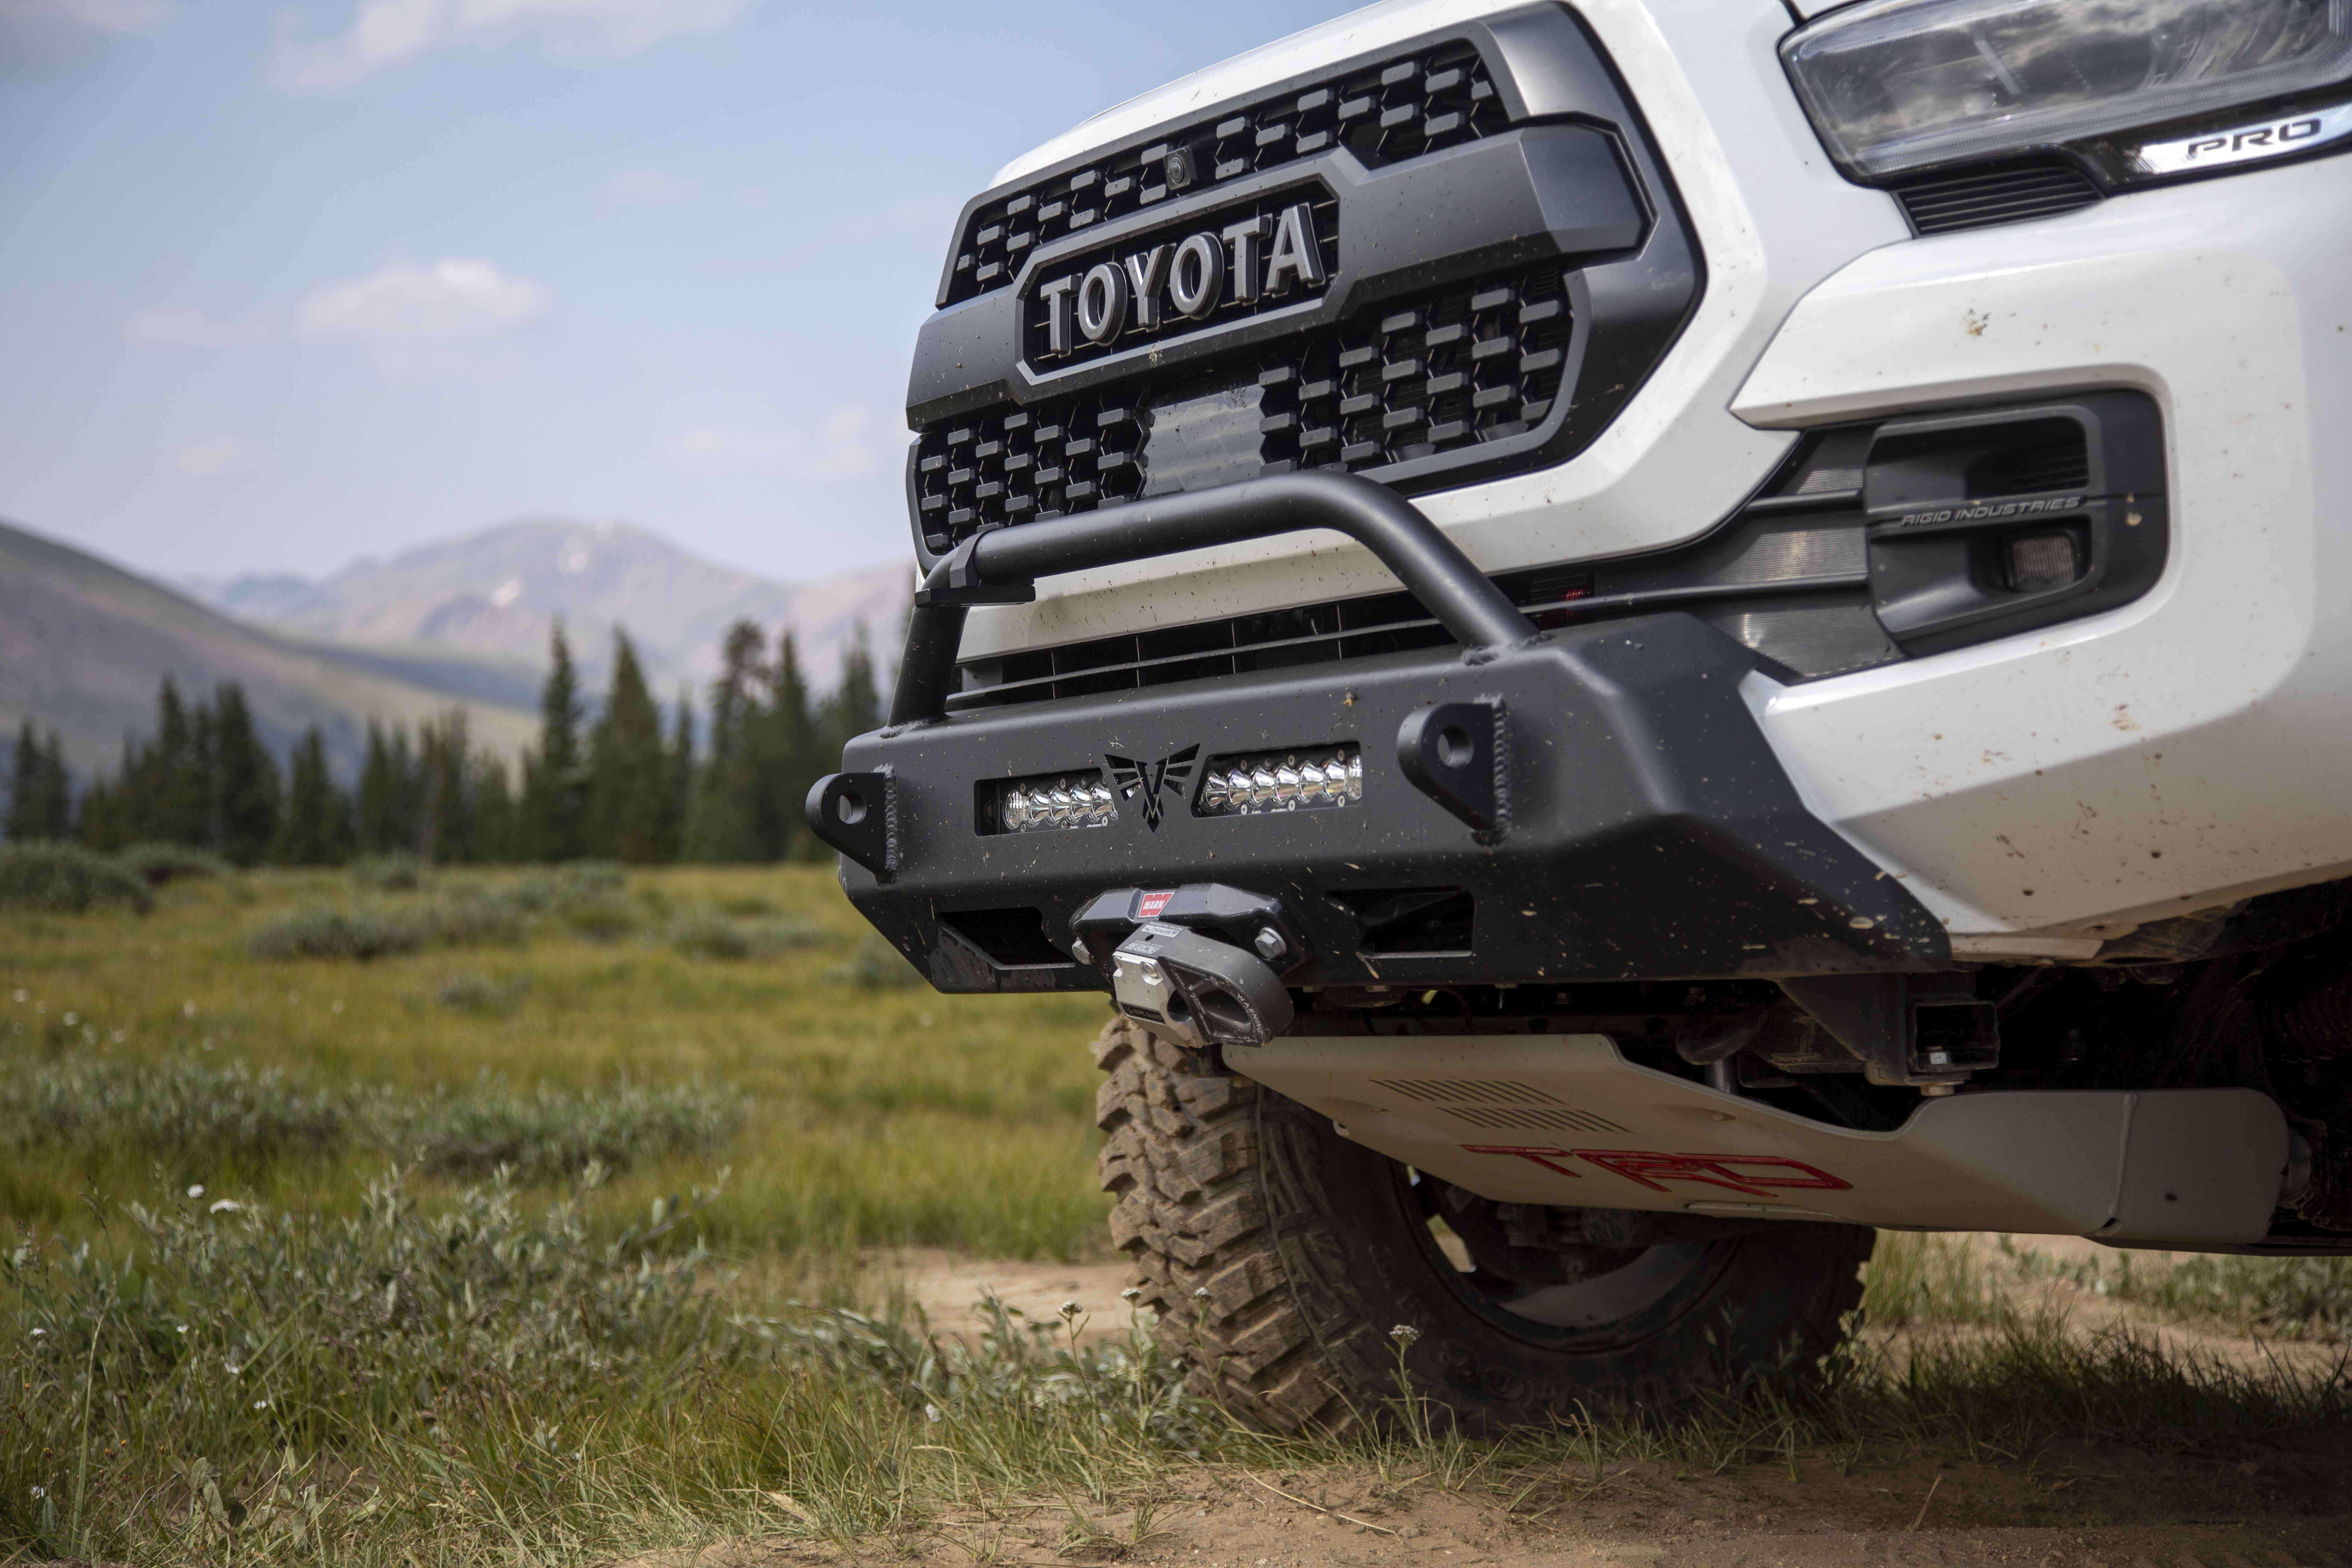
If there's one place where lighting choices become highly personal, it's the front bumper.
Unlike rear bumper lights, where we almost always recommend a flood pattern, front bumper lights can be tailored to how you actually use your vehicle.
One of the things I've learned over the years is that not everyone uses their off-road vehicle the same way.
My business partner Daryl tends to think about lighting from a campsite perspective. If there's a way to make camp setup easier, help someone with a recovery, or illuminate an area where people are gathering, he's interested. For that type of use, a flood pattern makes a lot of sense because it spreads light over a wide area near the vehicle.
I'm usually thinking about the drive home.
After a long day on the trail, I'm often trying to make it back to the trailhead, the highway, or the next destination. In those situations, I want to see as far down the trail as possible. That's where a spot pattern shines.
Neither choice is wrong.
The best front bumper light setup depends on what you're asking the light to do.
If your goal is lighting up a campsite, work area, or recovery zone, a flood pattern may be the better choice.
If your goal is to extend visibility while driving, a spot pattern is usually the better tool for the job.
Working in combination with a roof light bar and or pod lights on your bumper gives you some flexibility here. If you already have a spot lightbar on the roof and driving pods in the bumper, you may want to consider the bumper light bar as a source of lighting for more specific tasks. Flood lighting, as I mentioned for camp, or maybe an amber lens driving/combo pattern for specific weather conditions.
Which leads us into the next question: whether you should choose amber lights, clear lights, or a combination of both.
This is probably the second most common question we hear.
The good news is that there isn't really a wrong answer.
Amber lights perform exceptionally well in dust, fog, rain, snow, and other low-visibility conditions. The amber color helps reduce glare and reflection back toward the driver, which can make visibility more comfortable in difficult conditions.
White lights remain the most popular option overall. They provide a clean appearance, excellent output, and work well in a wide variety of situations.
Our recommendation is simple.
If you regularly drive in dust, fog, snow, or poor weather, consider amber.
If you're looking for the best all-around option, white is hard to beat.
To understand today's lighting market, it helps to understand where it came from.
Before LED light bars became common, off-road vehicles primarily relied on large round lights mounted to bumpers, roof racks, and roll cages.
Then came events like King of the Hammers.
For nearly two decades, King of the Hammers has pushed innovation in off-road suspension, vehicle design, and lighting. Racers needed compact, durable, high-output lighting capable of surviving some of the harshest racing conditions on earth.
I'll be honest: I've always considered myself an off-roader, but King of the Hammers has never really been my thing.
I'm more of a slow-going, enjoy-the-trail, set-up-camp, and-make-it-home-with-good-stories kind of off-roader. I've never been a huge fan of racing, and King of the Hammers is about as hardcore as it gets.
That said, I have tremendous respect for what the event has contributed to our industry.
Many of the suspension technologies, vehicle designs, and lighting innovations we take for granted today were accelerated by the demands of events like King of the Hammers.
Rigid Industries was one of the companies that helped answer those demands. Their early LED light bars and pod lights looked very different from traditional off-road lights at the time. Instead of large round housings, they introduced compact rectangular light bars and pod-style lights that delivered impressive output in a smaller package.
At first, the designs looked unconventional.
Today, they're the standard.
Whether you're crawling over rocks, exploring forest roads, or camping with the family, you've likely benefited from innovations that can trace their roots back to King of the Hammers.
There are a lot of lighting brands on the market, but three consistently stand out:
Rigid helped pioneer the modern LED off-road lighting market. They earned their reputation through durability, reliability, and performance long before LED lighting became mainstream.
Where Rigid Excels:
Potential Drawbacks:
Baja Designs built its reputation through racing and desert performance. Their lights are known for excellent optics, strong performance, and distinctive styling.
Where Baja Designs Excels:
Potential Drawbacks:
Diode Dynamics entered the market with a utility-first mindset and quickly gained popularity in the overland community.
Where Diode Dynamics Excels:
Potential Drawbacks:
Generally speaking, yes.
Most aftermarket manufacturers design around industry-standard light sizes. At Victory 4x4, we design our bumpers, roof racks, and light mounts around popular brands like Baja Designs, Rigid Industries, and Diode Dynamics.
Many import brands will fit as well.
However, this is where dimensions matter.
For example, many roof racks are designed around a standard 40-inch single-row light bar. Some imported bars advertised as 40-inch light bars may actually measure 42 or 43 inches overall once the housing and mounting brackets are included.
Before purchasing a light, always verify the actual dimensions. It can save a lot of frustration later.
We think so.
My uncle used to say, "Buy once, cry once."
It's some of the most honest advice I've ever received.
Nobody enjoys spending money on premium products. But plenty of people regret spending money twice.
Over the years we've seen customers replace inexpensive lights because of moisture intrusion, poor beam patterns, fading finishes, failed wiring, or simply because they weren't satisfied with the performance.
We've also seen customers run quality lights for years without giving them a second thought.
That's one reason we consistently recommend Baja Designs, Rigid Industries, and Diode Dynamics.
A quality light isn't just about brightness. It's about confidence that it will work when you need it most.
Customers ask us this all the time.
The answer is primarily Baja Designs and Diode Dynamics.
Part of that is practical. We sell both brands and work closely with them. It also means we've spent a lot of time installing, testing, and using their products on our own vehicles.
If we had to choose a favorite purely from a fit, finish, and appearance standpoint, Baja Designs would probably get the nod. We've always appreciated their styling, performance, and attention to detail.
That said, Diode Dynamics has made a serious push into the overland market over the last several years. Their lineup continues to improve, and we're finding ourselves using more and more Diode Dynamics products on our own builds.
While we don't currently sell Rigid products, we've used them extensively in the past and still have a great deal of respect for what they've contributed to the industry.
The reality is that all three companies build quality products. The best choice often comes down to your priorities, your budget, and the style you're trying to achieve.
At the end of the day, lighting is just another tool.
The best light isn't the brightest one.
It's the one that helps you enjoy the trail, get to camp safely, and make it back home.
That's what we're after anyway.
See you on the trails.
Brian Meyers
CEO / President